Guess what? You don’t have to be a professional photographer to take good photos on your phone! I’ve got you! I’m going to teach you how to take better outdoor iPhone photos right here!
Want to know the key to taking better photos outside on your phone?
LIGHT!
That’s right friends, in order to get those beautiful insta-worthy photos, you need to have a basic understanding of lighting! Which is why I’m going to give you a crash course in lighting right now by going through 3 main outdoor lighting scenarios so you can learn how to take better iPhone photos 🙂
***In these scenarios ‘you’ = you are the one getting your photo taken, & ‘photographer’= your friend or someone else that is taking the photo of you.
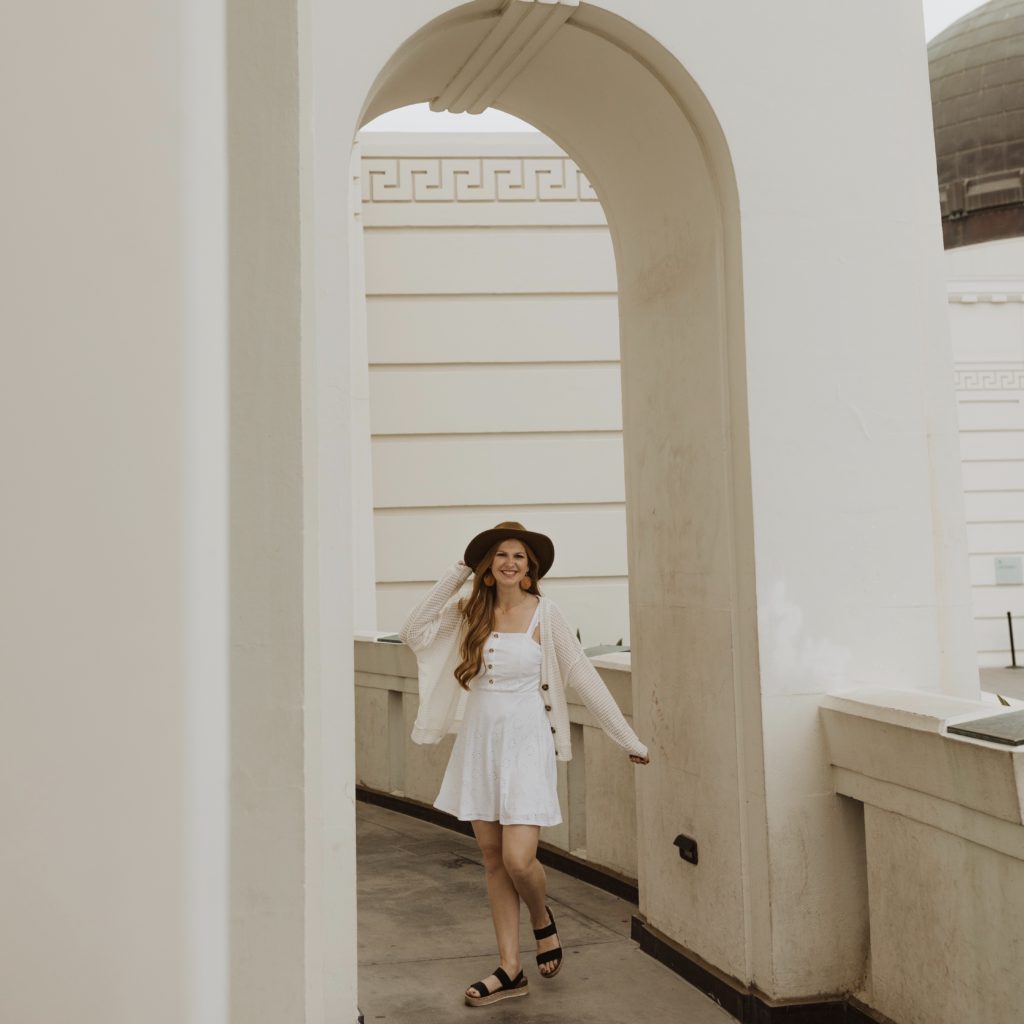
1. Cloudy
Yay for clouds! Cloudy is really easy you guys. A cloudy sky gives you even light everywhere so you don’t have to worry about getting any crazy shadows or those horrible squinty eyes. The one thing to be aware of on cloudy days is that you are getting enough light in your photo! So avoid standing under pavilions or anything else that will block the light from the sky and lead to a darker photo. An example of what an image looks like on a cloudy day is below (yes this is on a nice camera though).
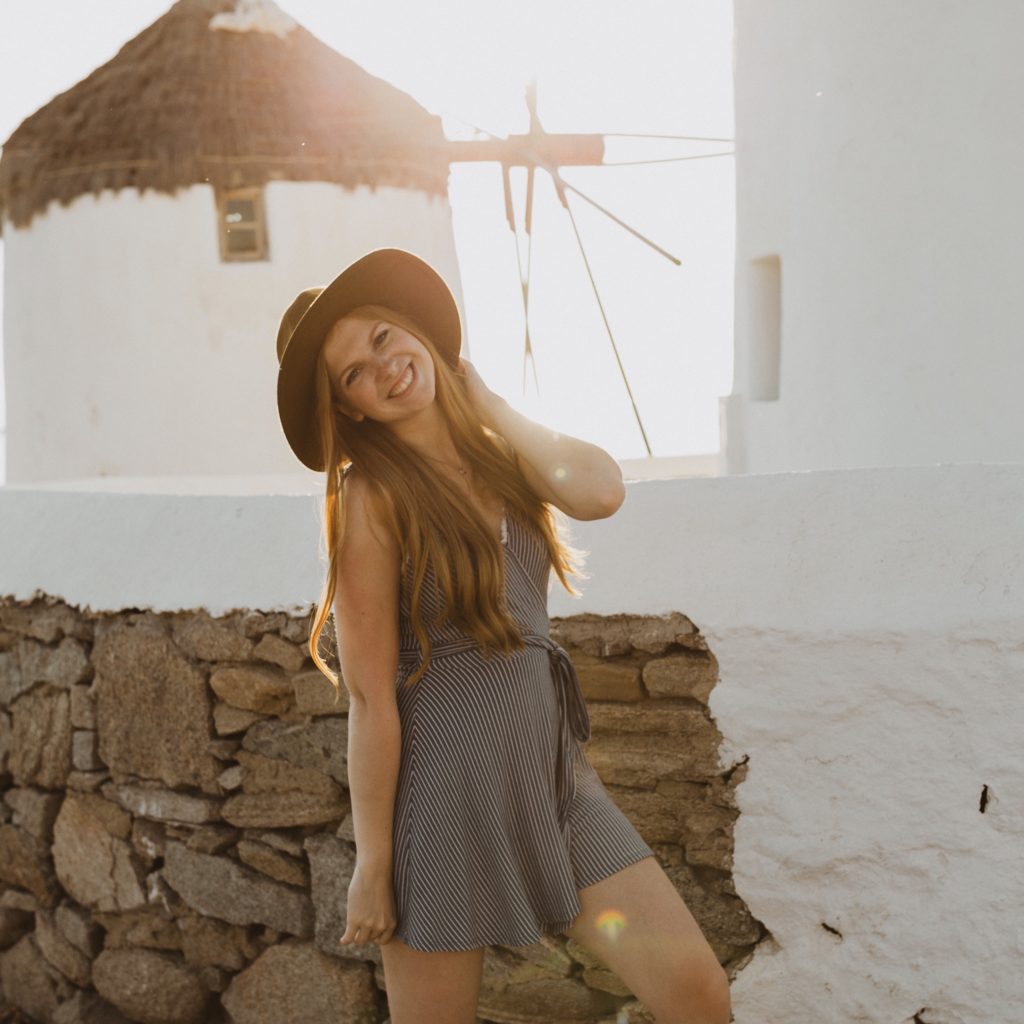
2. Sunset
Golden hours are a photographer’s dream for a reason! Sunsets are the perfect time for photos because the lighting isn’t harsh. So again, you don’t have to worry so much about shadows or squinty eyes. For photos taken outside during sunset I recommend positioning the photographer to face the sunset, and you will have your back to the sunset! This is called “backlit” which makes for some really dreamy images. If you flip it so that the sunset is on the photographers back the lighting still isn’t horrible, but you’ll need to be careful of shadows. Also, the sunset hitting right on your face can sometimes lead to skin tones looking really bright orange so be careful of that as well! Below is an example of a photo of me taken at sunset where I am backlit (again, on a nice camera).
3. Sunny Mid-Day
This is definitely the trickiest lighting scenario here! But I’ve broken it down for you into 3 types of lighting: front, side, and back. For these example photos I wanted to make sure you guys completely understood the differences between each lighting situation. So I had my wonderful boyfriend P.J. take some photos of me outside in the neighborhood on a sunny day at 2pm on my iPhone! Also for these photos, I stood in ONE spot – I just simply rotated which direction I was facing so you can see EXACTLY how important it is to have a basic understanding of LIGHT!
~Front~
This means the sun is in front of you. So you are essentially looking right into the sun… YIKES. Front lighting is not ideal for photos. This usually leads to some bad squinting in the photos. It can also make every little detail on your face be extremely clear and noticeable in the photo. So if you are someone that is a little insecure about your skin, watch out for this lighting!

~Side~
Again, YIKES. Side lighting is also not ideal. Side lighting usually leads to funky shadows on your face. It can also lead to half of your face being really bright and the other half being really dark. So I don’t recommend this either!
~Back~
For sunny skies mid day, back lighting is what I recommend! This allows for EVEN light across your face which means there are no funky shadows. Also, since the sun is behind you, you won’t be squinting in the photos! When the sun is still really high it can be a little challenging at first to know whether the sun is behind you or not, so just experiment a little bit if you need to. Take photos from a few different angles and watch how the shadows change on your face. Again, the goal is to have even lighting across your entire face.

But my number one tip for taking photos outside on sunny afternoons? FIND SOME SHADE! Find some trees, the side of a building, anything you can find that has shade will do! Shade creates the same effect a cloudy day does. This means it makes all the light very even across your face which makes for some beautiful & flattering photos of yourself! It also doesn’t matter as much which direction you are facing against the sun because the shade makes the light even everywhere that is covered by it!
But remember, practice makes perfect! So take these tips and go outside to experiment for yourself!
Now that you’ve learned how to take better iPhone photos of yourself, don’t forget to tag me in these new photos on Instagram so I can see your new and improved photo skills & cheer you on! 🎉
Are you ready to find out more information about my wedding photography packages? Click here to contact me!
